From its beginning, the Toyota 4Runner
has been a popular choice for the masses
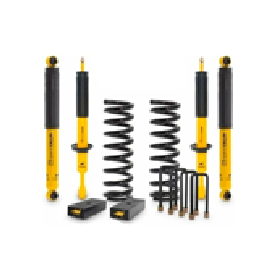
Yet, this dynamic, body-on-frame SUV was built to especially appeal to adventure seekers and weekend warriors who need a reliable partner both on and off the road. Currently in its 5th Gen, the 2010-2021 4Runner embodies this original purpose of being a true performer on the highway and the trail. And if you have a 5th Gen 4Runner and would like to elevate your offroad pursuits to even higher heights, a OME lift kit will meet your needs and exceed your expectations. Let's take a closer look at how to set up your OME lift kit for your 4Runner.
Why Is the Old Man Emu (OME) Suspension Optimum for the 4Runner?
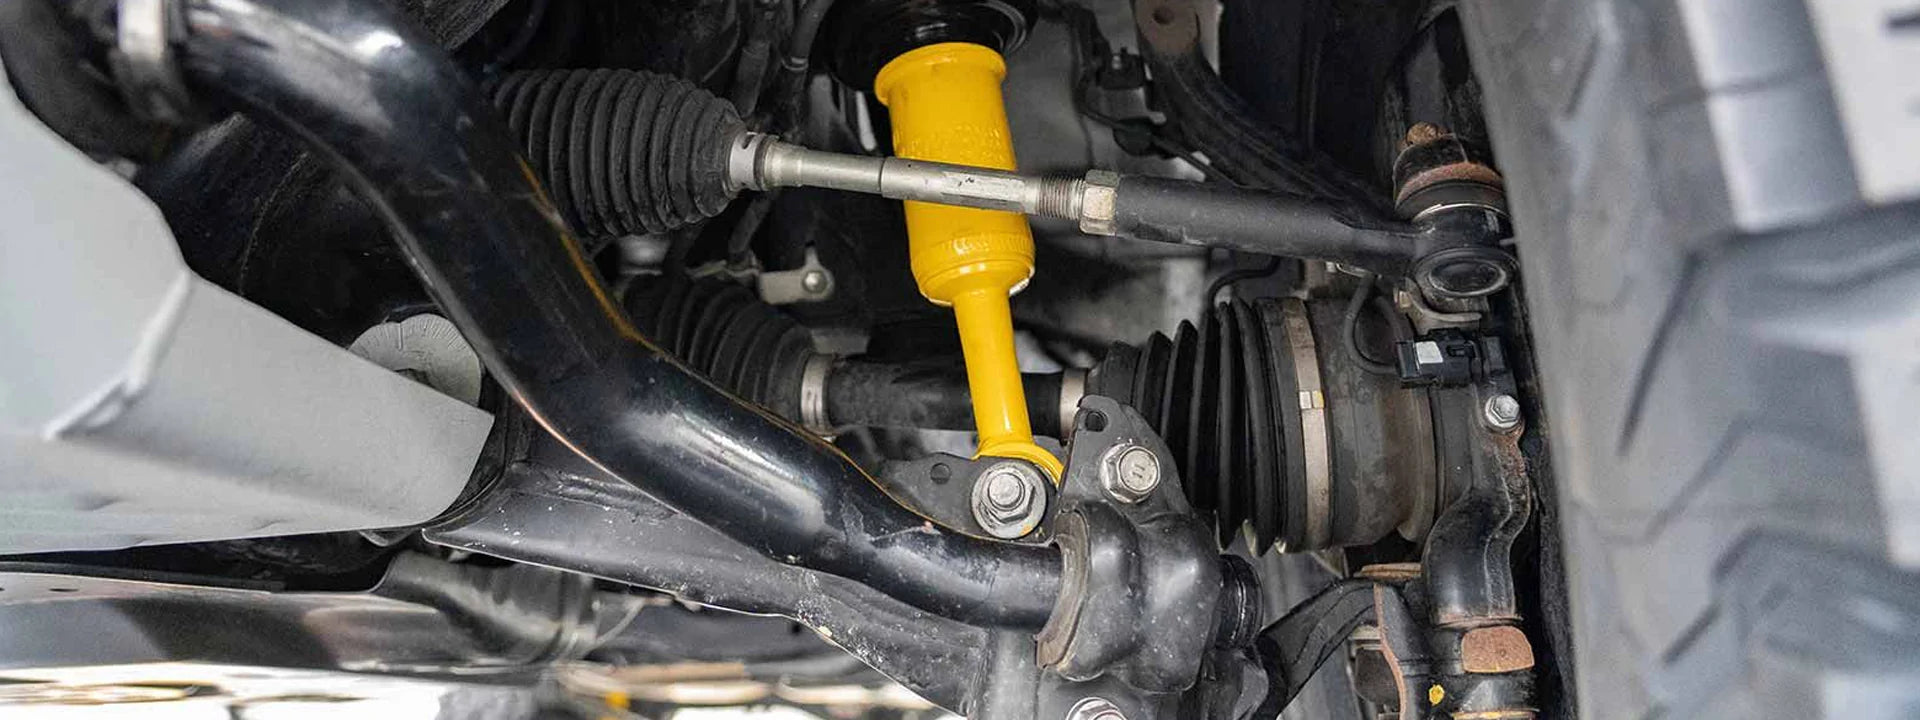
If you're looking for a tested, tried, and proven way to elevate your 5th Gen 4Runner, the OME lift kit is your solution. This top-of-the-line suspension lift kit truly shines by delivering a superior ride while you're on the road and off. And unlike other lift kits, the OME suspension lift kit doesn't use spacers.

Why does this matter?
1. Spacer lift kits have limits. Spacer lift kits will only allow you to raise your 4Runner a few inches. Suspension lift kits allow you to raise your 4Runner higher than body kits will.
2. Spacer lift kits can kill your ride. Because spacer lift kits create a higher center of gravity, it can negatively impact how your Toyota 4Runner performs.
3. Height without clearance. Spacer lift kits are all for height and will not improve your ground clearance for your mud-slinging, rock-crushing adventures.
With that being stated, let's take a closer look
at what's involved with setting up your new OME 2 – 3 inch lift-kit.

How to choose the right front coil?
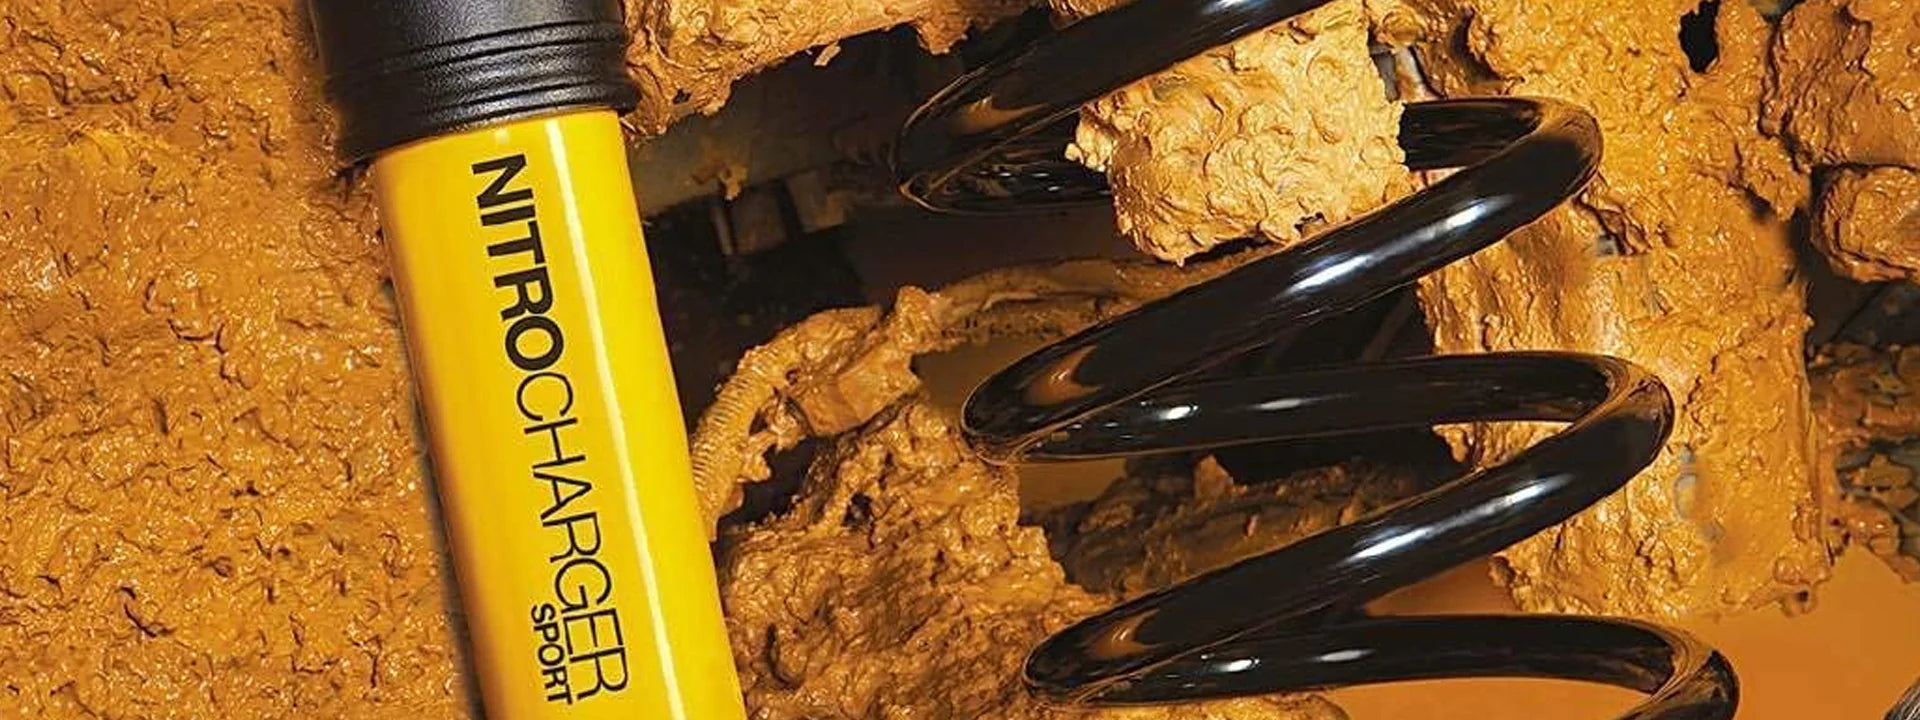
When choosing the best front coils, it's important to know the total weight of your vehicle. Then you should know the front weight and rear weight. Combine this information with your desired height as a guiding light in your journey. The 884 light load front coils are perfect for those looking to raise the front end of their stock 4Runner. These coils can support minor front weight, anything more than that will cause sagging. But if you have already or are planning on adding the weight with a new bumper and/or winch, you should consider upgrading to a higher rated lift.
Step 1: Choose Your OME Front Coil Configuration
The first step in setting up your OME 2 – 3 inch lift kit is to choose your front coil. You have three different options:
-
1- 2" Lift: The 884 light load front coil offers a 2" lift.
-
2- 2.5” Lift: The 885 medium-load (70 lbs up to 100 lbs) front coil offers a 2.5” lift.
-
3- 3.0” Lift: The 887 heavy-load (200 lbs and more) front coil delivers 2.5" up to 3" lift.

How to Choose the Right Rear Coil?
Similar to the front, the rear spring option you choose should account for any accessories, such as tire carriers, bumpers, drawers, side steps, canopies, etc. If you're very concerned about the weight of the rear or front coil, consider the use of a roof rack, which distributes weight to both ends.

Step 2: Choose Your OME Rear Coil Configuration
Similar to your front coil, you have three options for rear coil configuration:
-
1- 2" Lift: The 889 medium load rear coil provides a 2" lift that is 30% stiffer than the stock
-
2- Up to 2.5" Lift: The 898 heavy load (400 lbs) rear coil offers 2" up to 2.5” lift
-
3- 3.0" Lift: The 899 HD load (up to 600 lbs) rear coil delivers up to 3" lift

Consider Your Upper Control Arms
When it comes to your 4Runner's suspension, the upper control arms are important. They influence wheel alignment, suspension durability, and wheel travel. So anytime you're considering modifications to your suspension, a replacement upper arm can help enhance your overall performance.
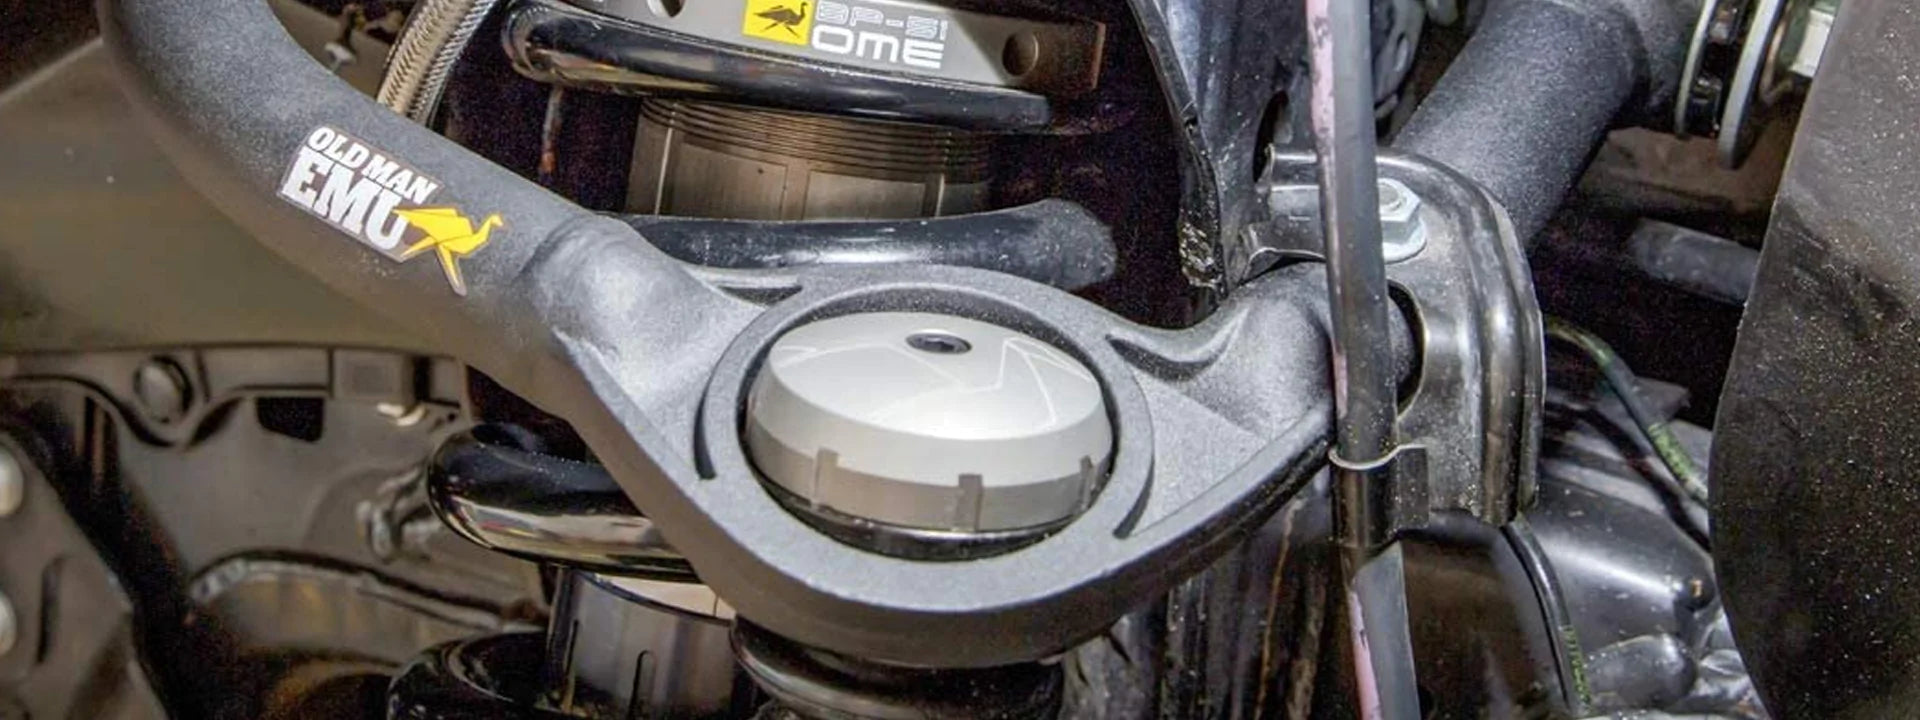
Step 3: A replacement upper arm can help enhance your overall performance
Here are the three options with the OME Toyota 4Runner suspension lift kit:
- 1- Go with the stock upper control arms. This is the least advantageous option considering everything mentioned above.
- 2- Choose the OME Forged Ball-in-Joint Upper Control Arms.
- 3- Opt for the premium SPC Upper Control Arms

the front parts
Unless you're a skilled technician (and even if you are), this step is arguably the most difficult. In addition to special tools, you need specialized expertise to assemble the front shocks and coils of this lift kit.
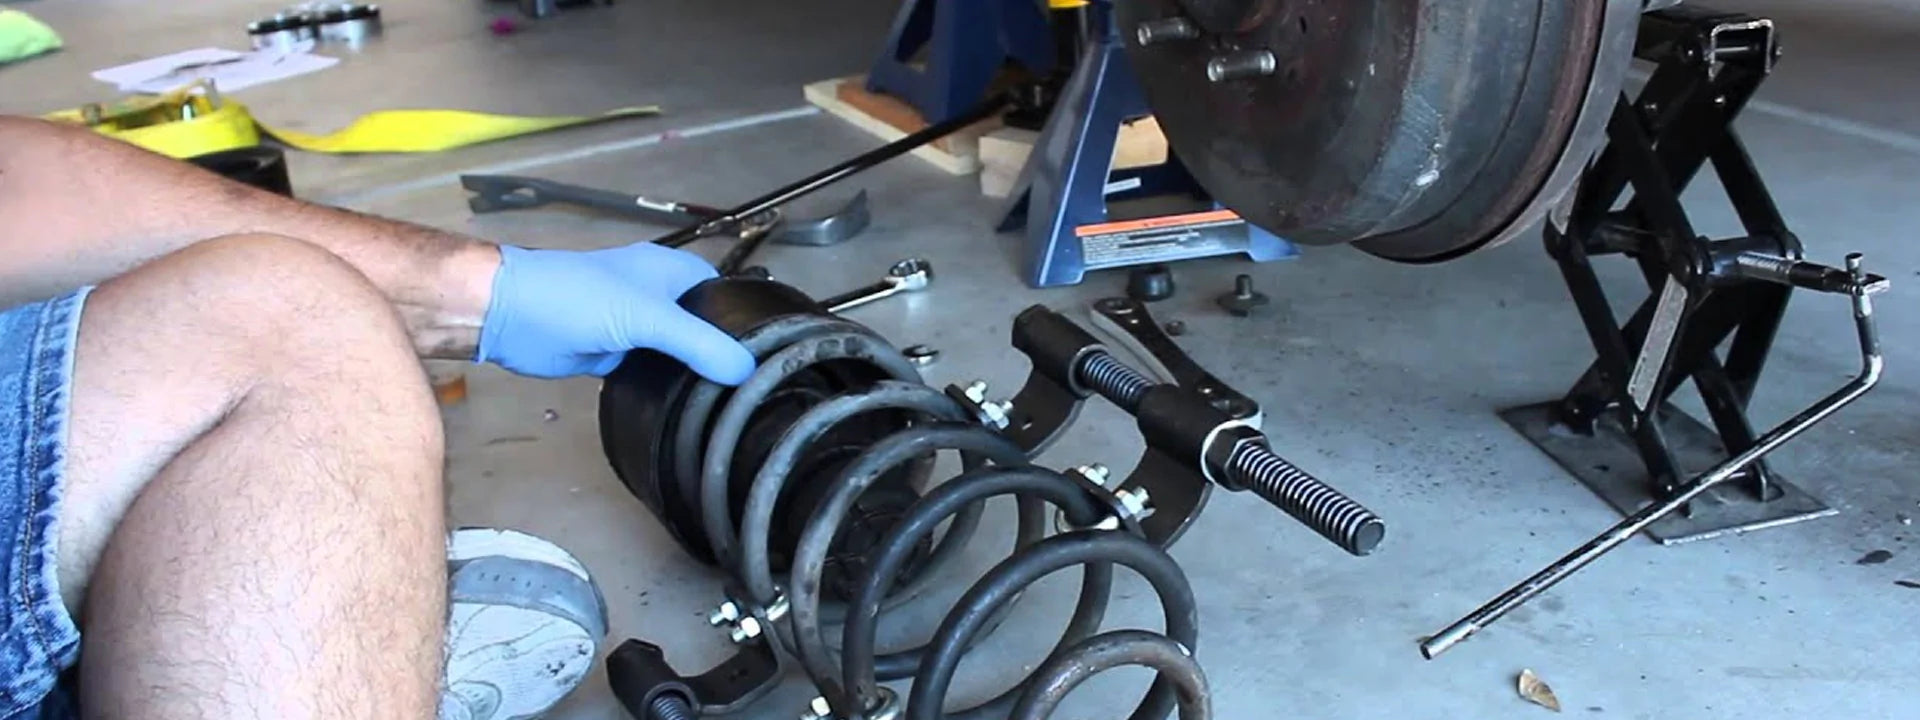
Step 4: Front Shocks. Arguably the most difficult.
Fortunately, the team at Mudify can help. We offer a streamlined option designed to save you hours of time and transform your lift kit into a much-easier, simpler solution. When you opt for this option, you'll receive a ready-to-go, plug-and-play installation that takes a fraction of the time.
